Send me an email

Visit my linked in page

Online Portfolio

An online portfolio is a good medium to introduce yourself and show your skills. My personal challenge was to develop my own portfolio website from scratch in 8 weeks time using HTML, CSS and JQuery.

  • Web Designer & Developer
  • Just me
  • 8 weeks
View my process

My Process

The steps I took to get to the final result

Empathizing

The development of the online portfolio started with empathy research. What is the goal of the website, who is the websites audience. A huge part of the emapthy research was conducted by analyzing Online Portfolio reviews of other people, in addition to reading documents and watching video's about online portfolio's. Some of the notes of the Online Portfolio reviews are displayed in the first image.

With the gathered knowledge, it was easy to set up a list of the needs, goals and audience of the website (displayed in the second image). One of the goals is to show who I am. Because the website is a Personal Online Portfolio, this needs to be done, not just in words, but in the design of the page as well. To help with this task, several mindmaps were created. From the mindmaps four keywords were chosen to help structure the development process: Clear, Story, Playfull and Refreshing.

Defining

With the goals and needs of the website set, it was time to figure out, and define, how to accomplish the goals and meet the needs. First it was necessary to decide which pages the website needed. For all of these pages, and the sections on those pages, a list was created with guidelines, rules and requirements. This list was created from the research that was performed in the empathy stage, with close regard to the four keywords. The first image holds a snapshot of the list of requirements.

The next step was defining the actual content that was going to be put on each of these sections. It is important to define the content of a website before the actual design is made, because the design needs to support the content, not the other way around. In my case, the original plan was to put the skills and the about me description next to each other. When the content of the skills was defined, it was clear that there was far too much content to be able to fit them nicely together, there had to be a seperate design for a skills section. When the sections and pages were defined, a UI flow or sitemap was created to outlay the flow of the page and the navigation paths.

Ideation

In the ideation stage, a variety of ideas were created for the different screens of the website. The inspiration for the ideas came from a couple of different sources

  • The requirements of the define stage (e.g. the nav bar that should resemble the sections in the main page)
  • Pictures of things (not necessarily sites) on pinterest (e.g. Wall art with rhombuses that were inspiration for the rhombus ideas)
  • Existing websites that I liked (e.g. The Portfolio site of Adham Dannaway)
  • My surroundings (e.g. patterns in a laundry basket).

Low fidelity prototype

The best ideas of the ideation stage are used to create the low-fidelity prototypes. In the low-fidelity prototypes ideas are explored and worked out in more detail using wireframes. The Low-fidelity stage of this project also included ideation, as a variety of new ideas were produced in wireframes that weren't explored in the paper prototypes.

The wireframes are simple representations of the arrangements of the pages/screens and all the elements on them. It is important to add as little distractions as possible:

  • No images
  • No color (only greyscale)
  • Simple Font
  • Text and final content

View an image of the entire

scrollpage design

High Fidelity Prototype

All of the low-fidelity prototypes were analyzed on a couple of fields:

  • The design needs to match the 4 keywords.
  • The design needs to be plausable.
  • The design should have my Personal preference.

When the low-fidelity designs are chosen, the designs are worked out in more detail. Colors and a nice font are added. The art is improved until the prototype is at a high enough level. The improvements are tested with a semi-functional prototype in 'Invision'.

First Web prototype

When the design was at a semi-final level, the development on the first interactive web prototype started. The first setup was generated with HTML inside the 'Brackets' text editor. Styling was done with CSS and more interactive parts like the scrolling between sections was done with jQuery.

The online portfolio's audience are mostly recruiters. They could be watching either on a big monitor or on smaller devices like tablets or phones. Therefore, it was important to create a responsive website. I added responsiveness to the site with Media Queries in CSS.

View the scroll page designs of the

main page

and the

project page

Art Update

The first web prototype still had the semi-final art design. The decision was made to go back and create a better art design. The new design got a more refreshing look, with more colors, buttons and icons. It was constantly tested out as a semi-interactable prototype in 'Invision': https://goo.gl/xzaW4B

After the new design was approved, it was implemented inside the first web prototype. For the implementation it was neccesary to thoroughly go through the HTML&CSS files. With every implementation step, time was taken to review the original code and make improvements wherever it was necessary.

Resume

The resume design was created at the same time as the Online Portfolio designs. It was a personal preference to keep both the website and Resume in the same style.

Above are the three different resume designs from old to new. The first the base design during the low-fidelity prototyping stage, the design with the shaded fields from the first web prototype and the more colorful and iconrigh design from the current website design.

Reflection

A short reflection on the experiences of this project

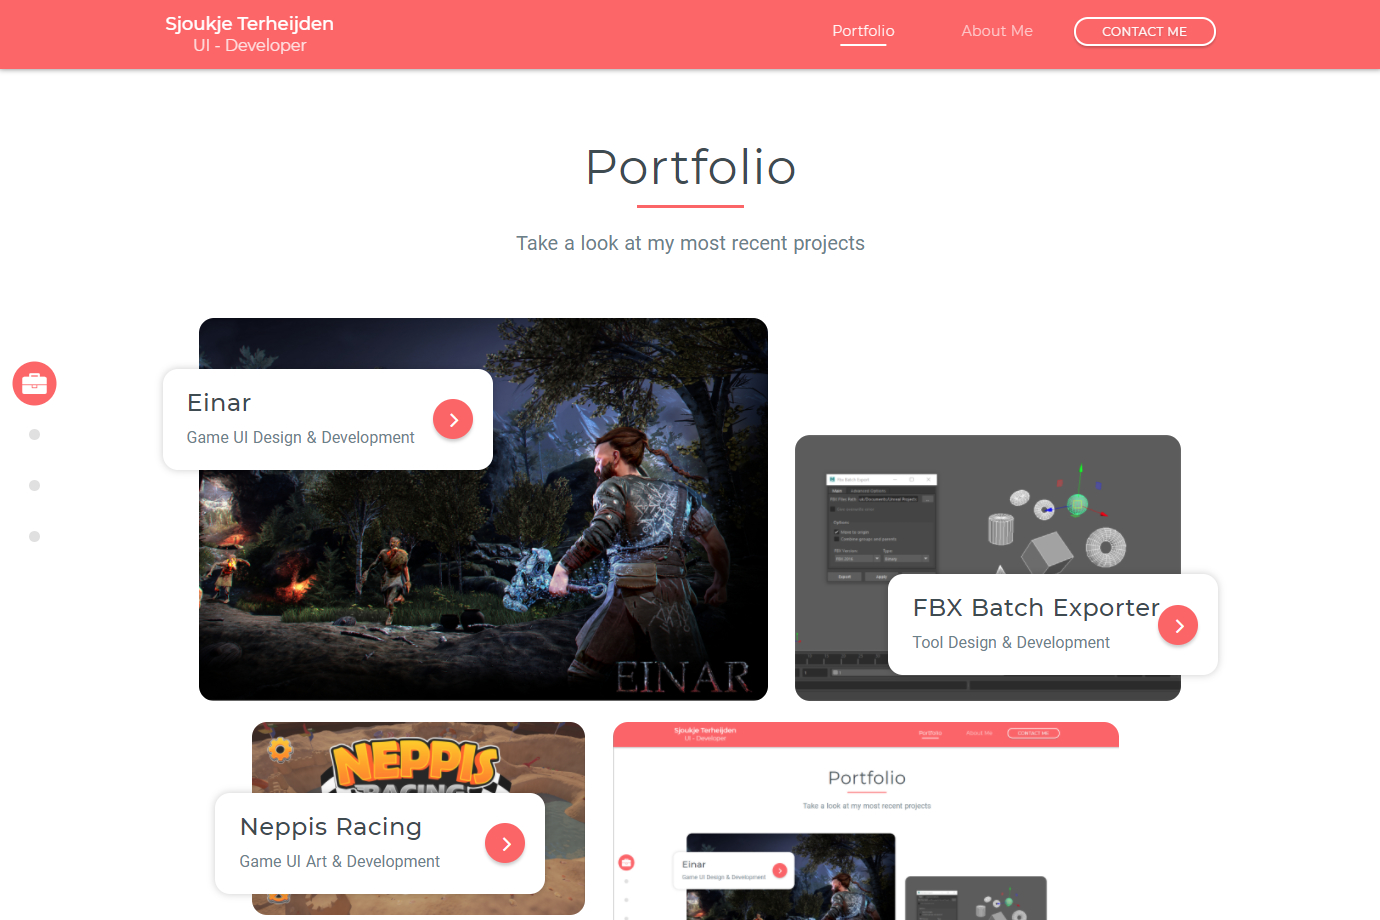
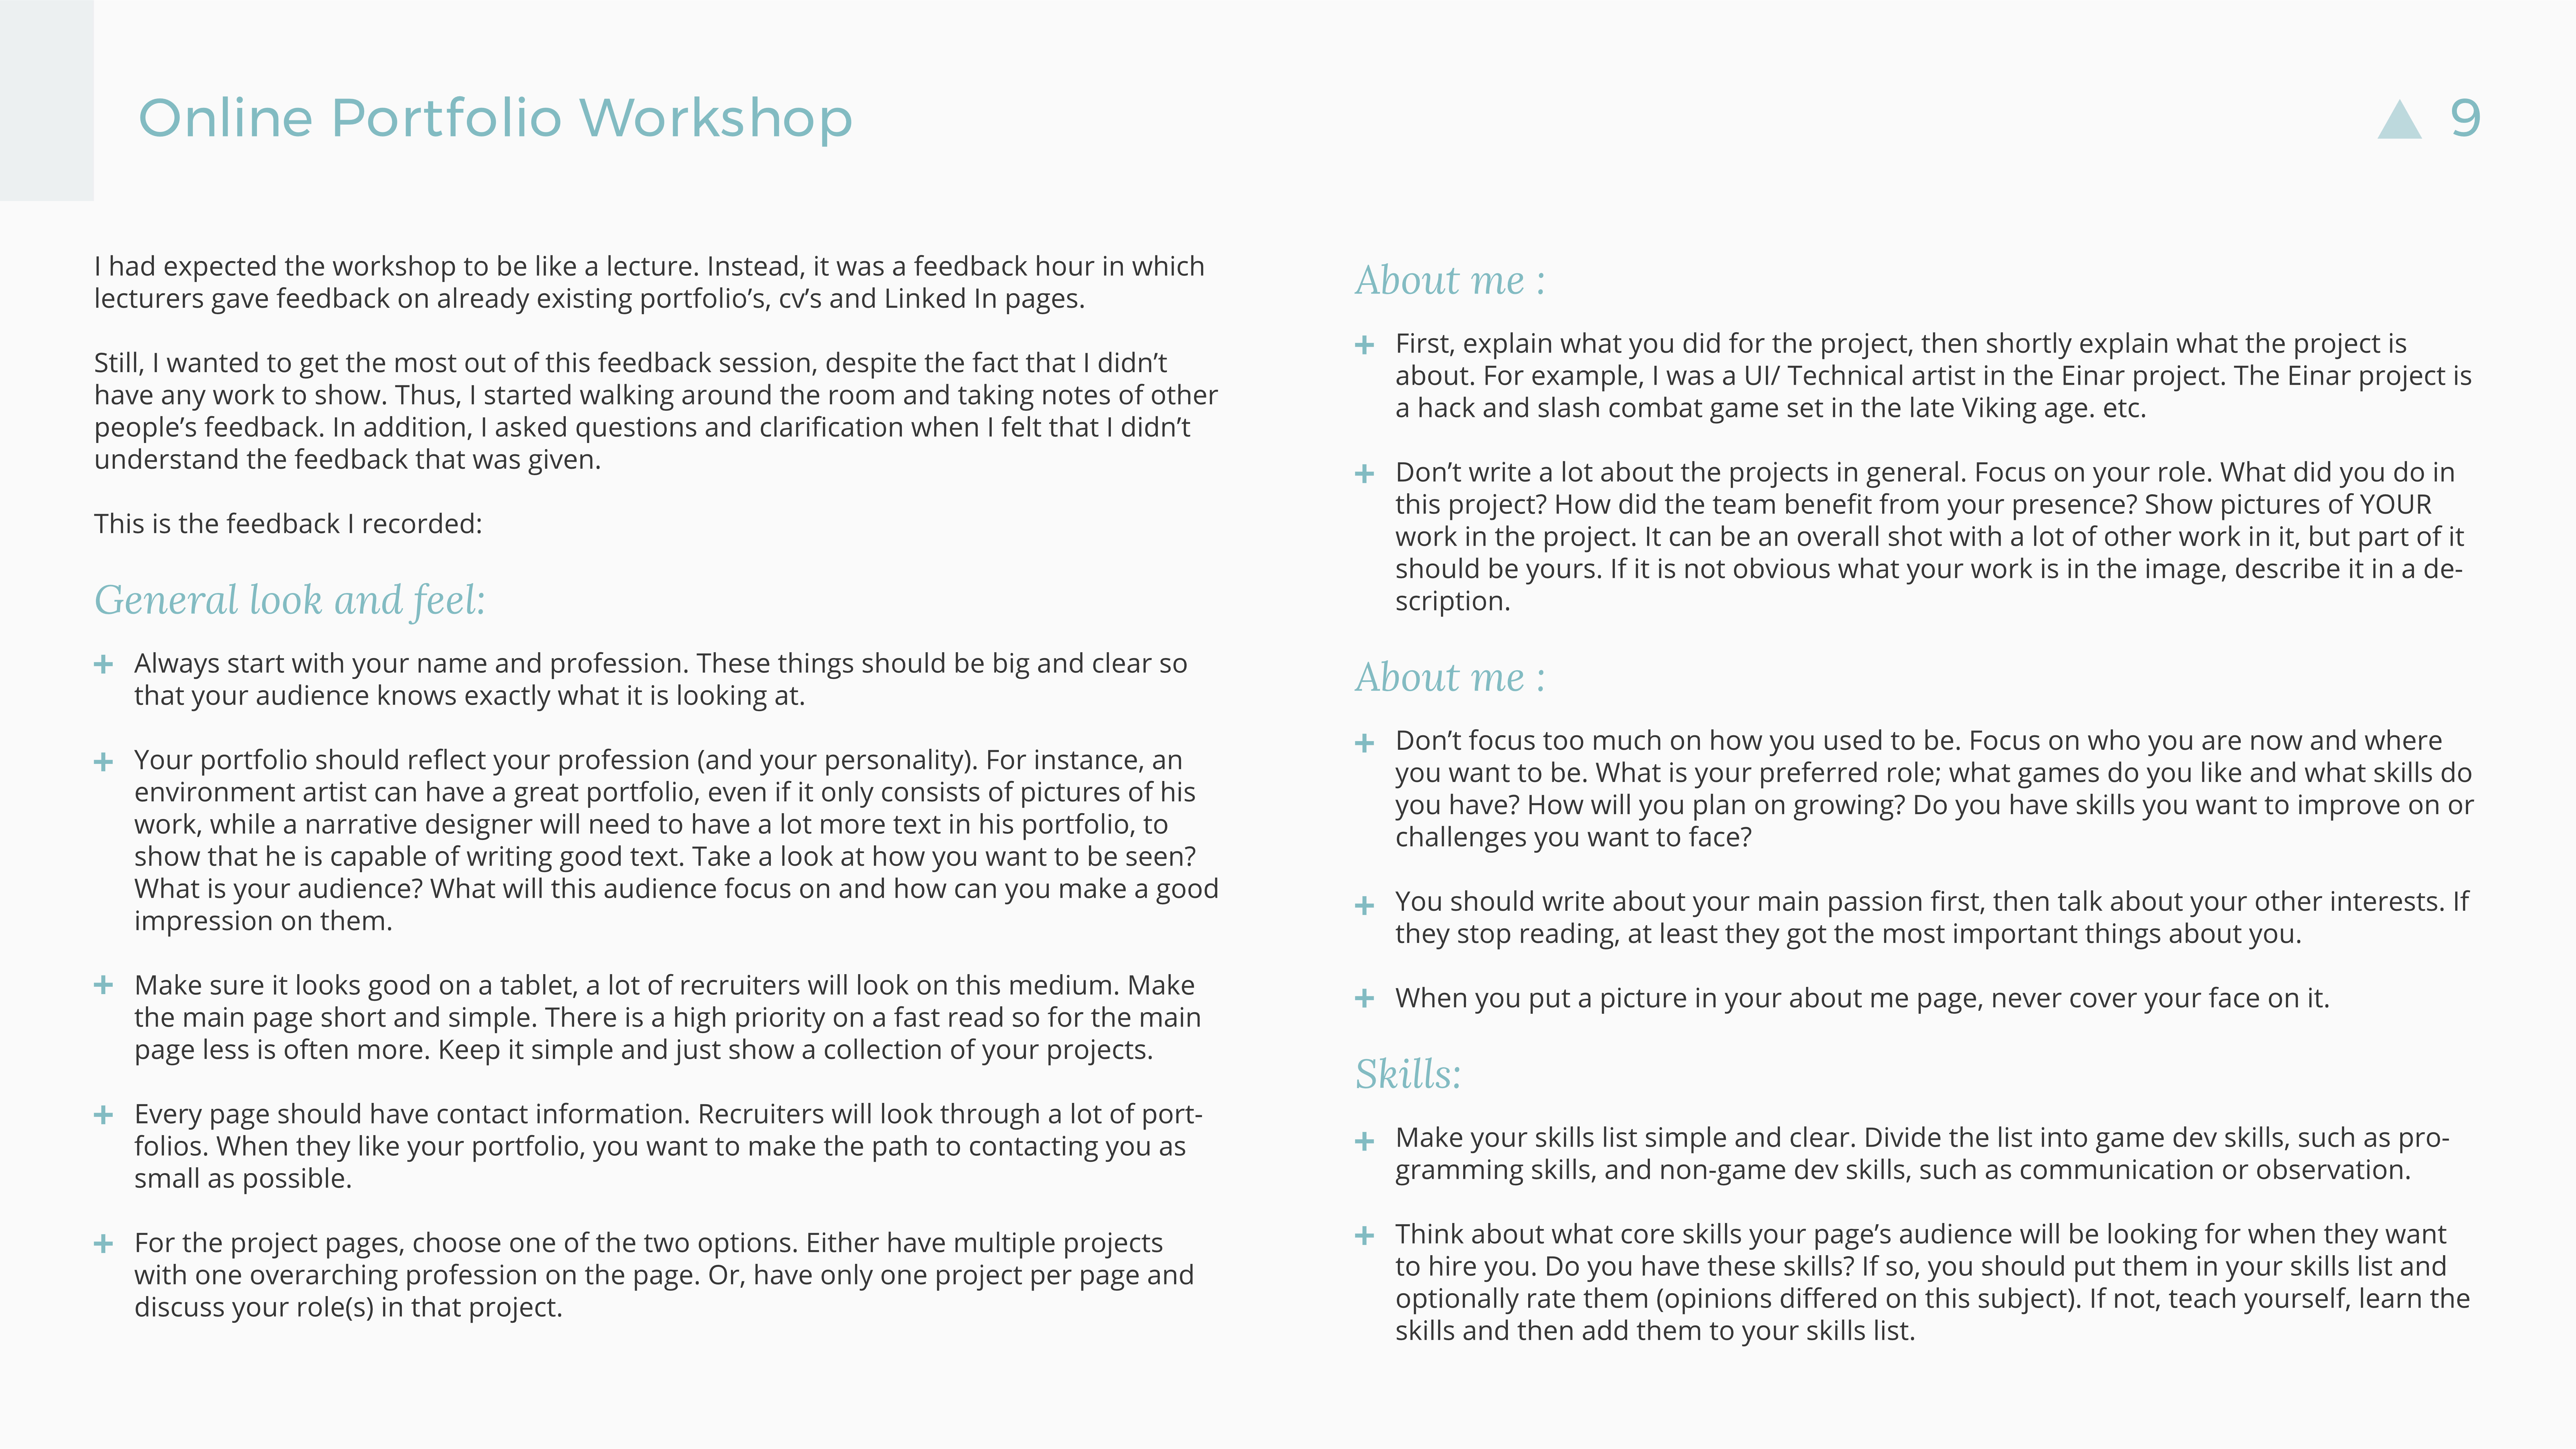
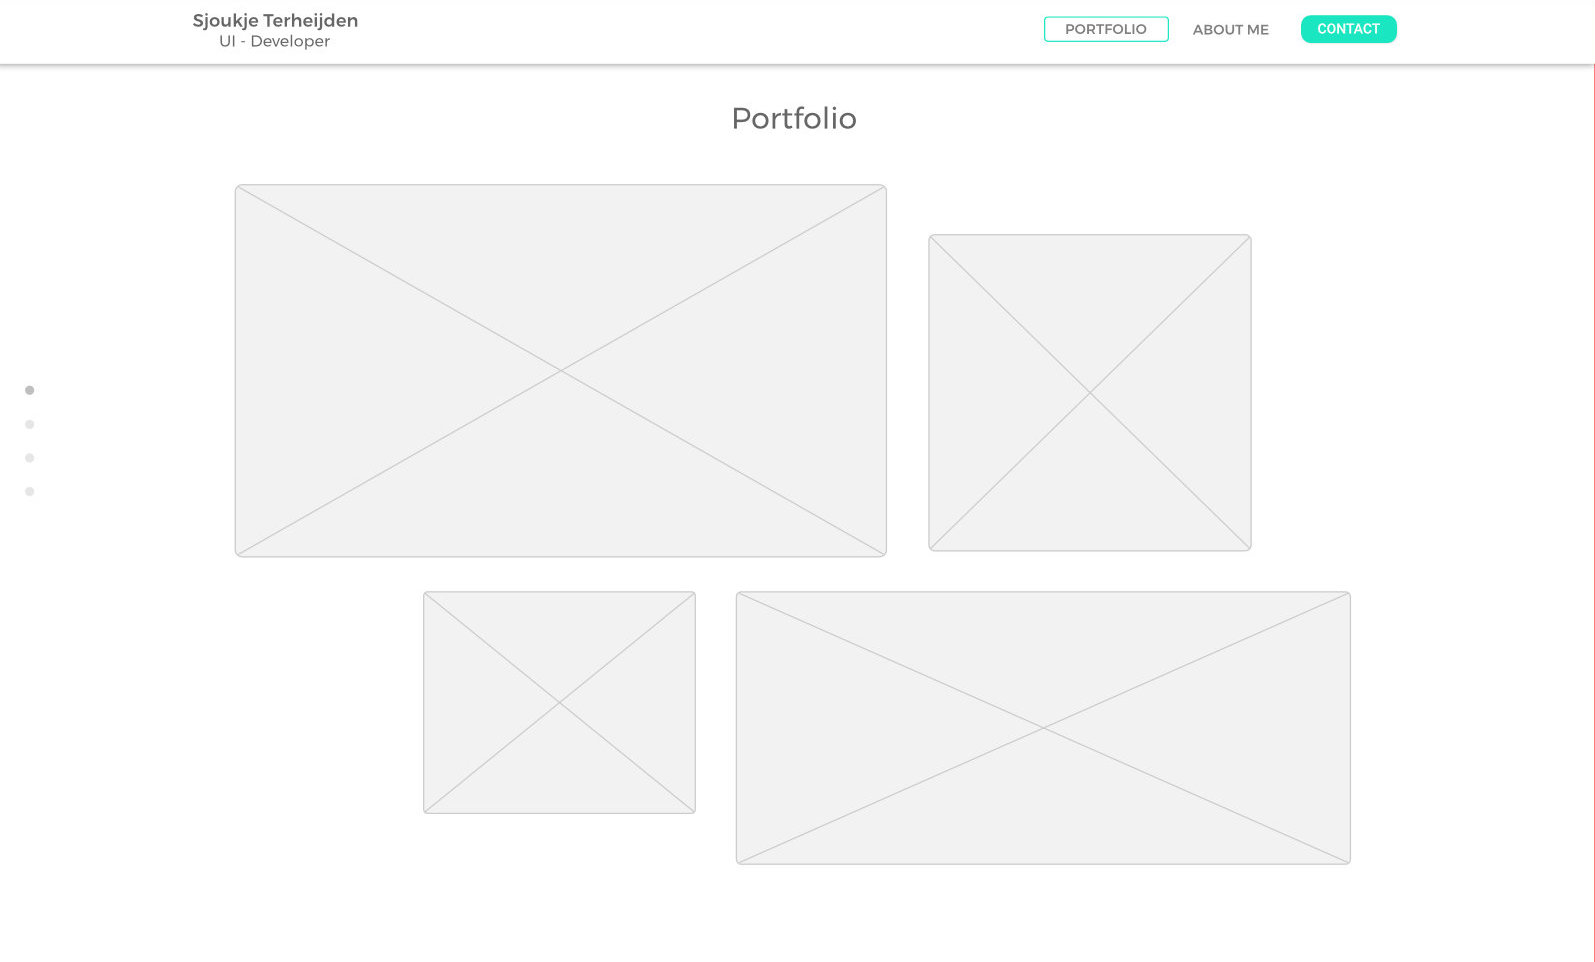
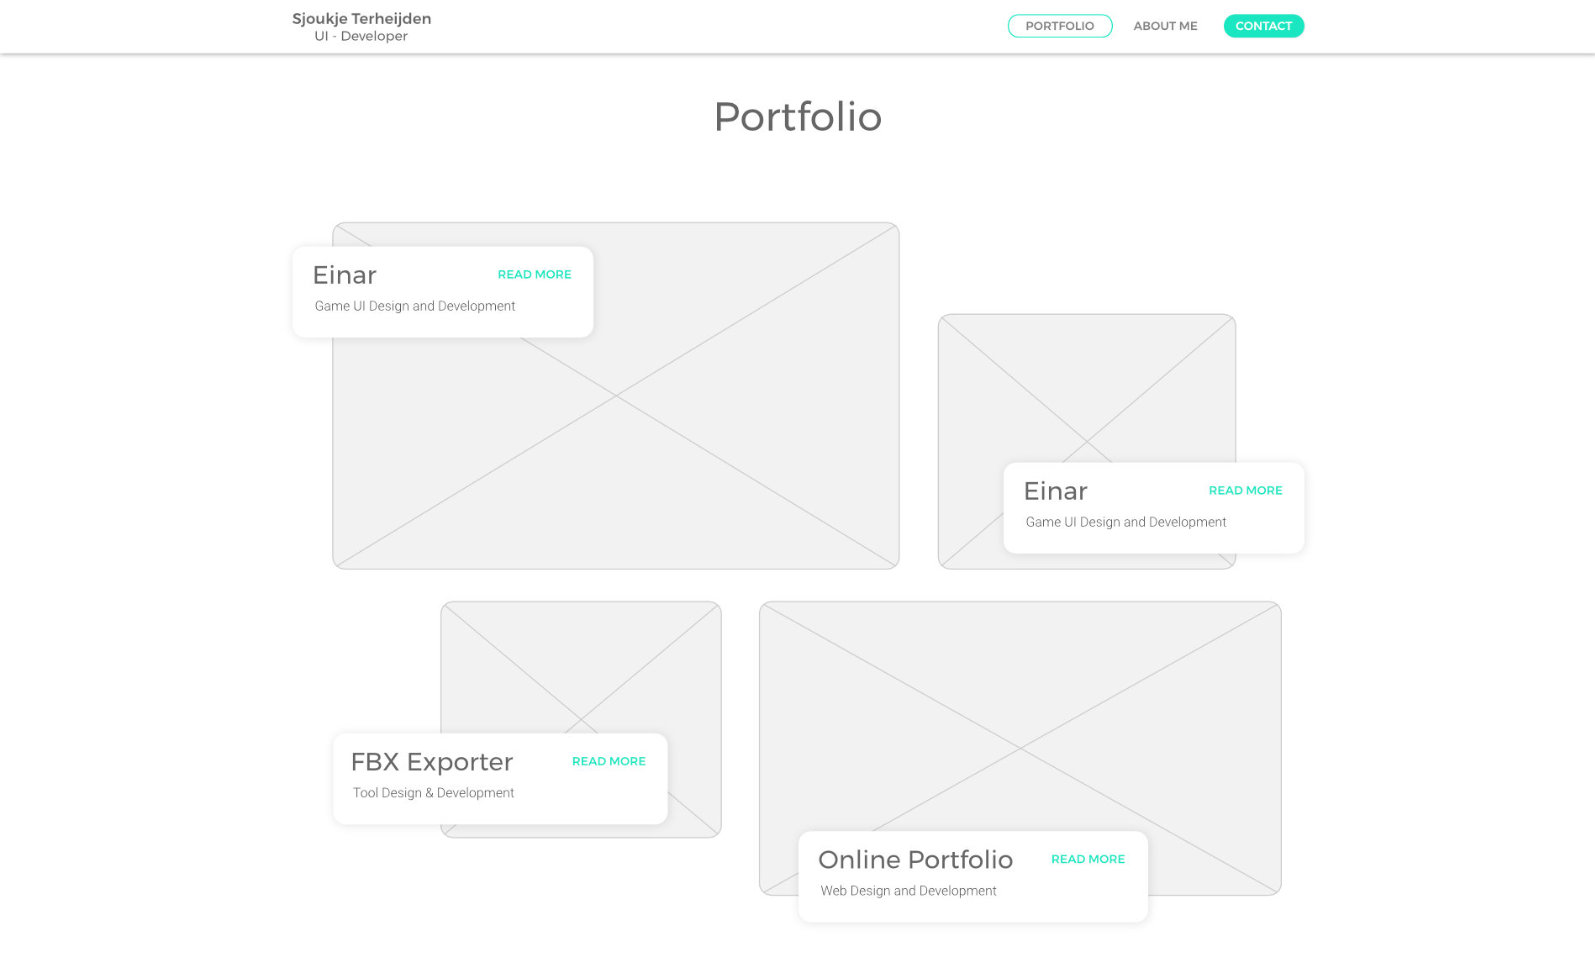
The Online Portfolio project was quite a challenging project. In choosing to both design and developed the entire site, I underestimated how much work it would be to learn and be able to develop with HTML, CSS and JQuery. Knowing how a language works is one thing, building an entire website with different arrangements, buttons, interaction, responsiveness and optimization is a lot harder.

In retrospect, building the website with a tool might have been a better option. Tools like 'Wordpress' and 'Webflow' would have saved time that I could have spend on polishing and animation. However, I don't regret my decision to build it with HTML and CSS. Tools come with limitations and the experience I now have with terms like padding, margin, float, position, div, display, align etc. makes me understand other UI tools a lot better. Most UI tools, like Unreal Engine's Widgets, use the same terms.